V-Ray for Cinema 4D: Tutorial for Beginner
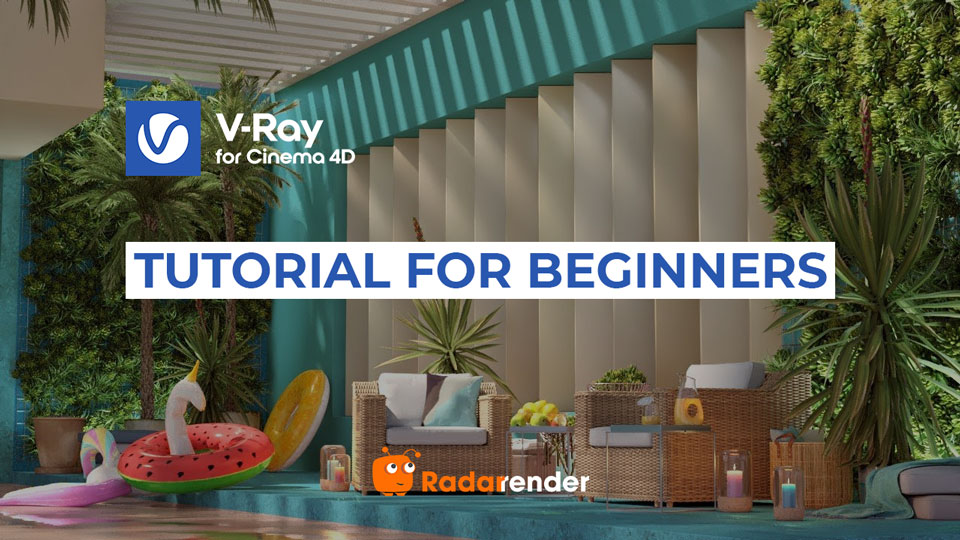
V-Ray for Cinema 4D is a professional 3D rendering software to bring your boldest ideas to life. If you are a newbie and want to begin your journey in V-Ray for Cinema 4D, Chaos documentation and tutorials are the first place to look. In this article, Radarrender will introduce a series of tutorials that is beginner-friendly to all artists and designers.
What is V-Ray for Cinema 4D?
V-Ray, developed by Chaos Group, is a professional 3D render engine for Cinema 4D artists and designers. V-Ray for Cinema 4D offers industry-standard technology, smart tools, and powerful rendering capabilities. As a result, artists and designers are able to deliver photorealistic 3D renders with fast rendering speed and creative control.
V-Ray for Cinema 4D is perfect for any project. These are the reasons:
- Providing powerful, winning tools to bring your ideas to life.
- Built to handle the biggest scenes.
- Artist-friendly tools and an intuitive interface.
- Powerful rendering capabilities in both CPU and GPU.
- Easily to scale thanks to V-Ray’s distributed rendering and its compatibility with various render farms.
- Allow post-processing renders in just one application.
V-Ray for Cinema 4D: Tutorial for Beginners
Are you new to V-Ray for Cinema 4D? There are plenty of tutorials and courses to help you begin your journey. Recently, Chaos Group, V-Ray’s own developer, created a series of V-Ray for Cinema 4D tutorials dedicated to beginners. The series will familiarize you with the render engine and help you master the basics. Once you finish the series, you can start creating great-looking renders in no time.
1. User interface
The first video will walk you through the V-Ray user interface in Maxon Cinema 4D and show how to set it up as the active renderer. You will delve into the V-Ray Toolbar, which provides quick access to the most commonly used tools. Also, you will learn how to customize its layout to match your preferences, as well as the functionality of each tool.
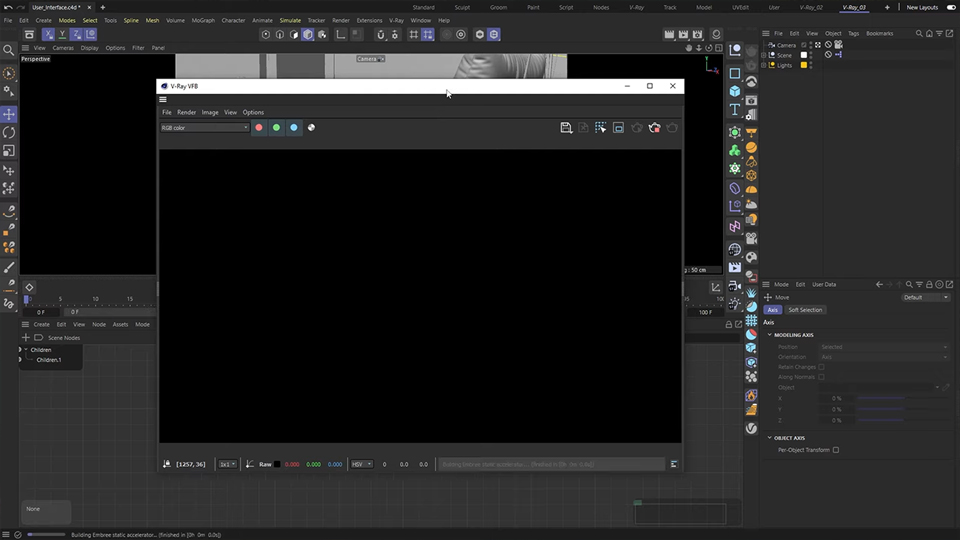
The V-Ray Toolbar includes:
- Group 1 – Rendering: Production Rendering, Interactive Rendering, Chaos Cloud, VFB and Render Elements.
- Group 2 – Lighting: Different light types (including Rectangle, Sphere, IES, Mesh, Dome light), V-Ray Sun and Sky, and Light Lister.
- V-Ray Physical Camera.
- Chaos Cosmos.
- Shadow Catcher.
- Group 3 – Dynamic Geometry (Fur, Enmesh, Decal, Clipper), External Assets Tools (V-Ray Proxy and V-Ray Scene), and V-Ray Particles.
- Group 4 – V-Ray VolumeGrid and Environment Fog.
- V-Ray for Cinema 4D documentation.
Furthermore, you will learn the V-Ray Render Settings and some of Cinema 4D’s menus where you can also interact with V-Ray.
2. Lighting
After getting familiar with the user interface and tools, it is time to explore light your scenes. In this second video, you will delve into a wide range of artificial and environmental lighting sources available in V-Ray for Cinema 4D. You will learn how to use numerous light types to create realistic renders, including:
- Rectangle light.
- Spherical light.
- IES light.
- Mesh light.
- Dome light.
- V-Ray Sun and Sky system.
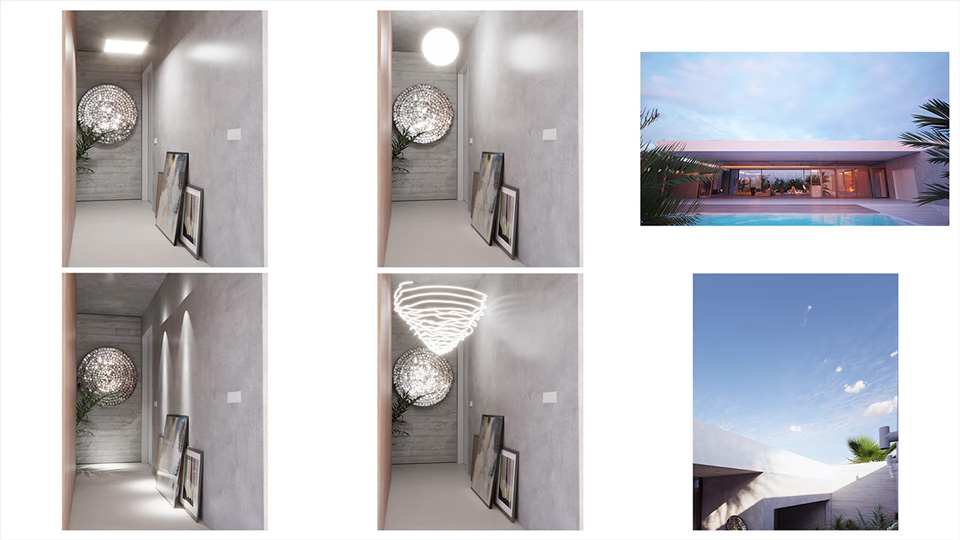
In addition, you will explore V-Ray’s Light Lister and how to use it to manage multiple light sources in your scene.
3. Camera and Lens effects
Next, you will learn how to create and set up a V-Ray Camera. This video will guide you to adjust the camera settings to fine-tune the composition, exposure, white balance, and other aspects of your image. Also, you will learn how to add realistic camera effects such as depth of field, bokeh and motion blur, and lens effects.
In addition, there are many useful tips and tricks to help you work smarter.
4. Materials
In this video, you will explore how to effortlessly create realistic V-Ray materials from scratch. You will learn how to work with basic materials like glass, metal, and plastic, as well as how to add surface details for even more realistic results.
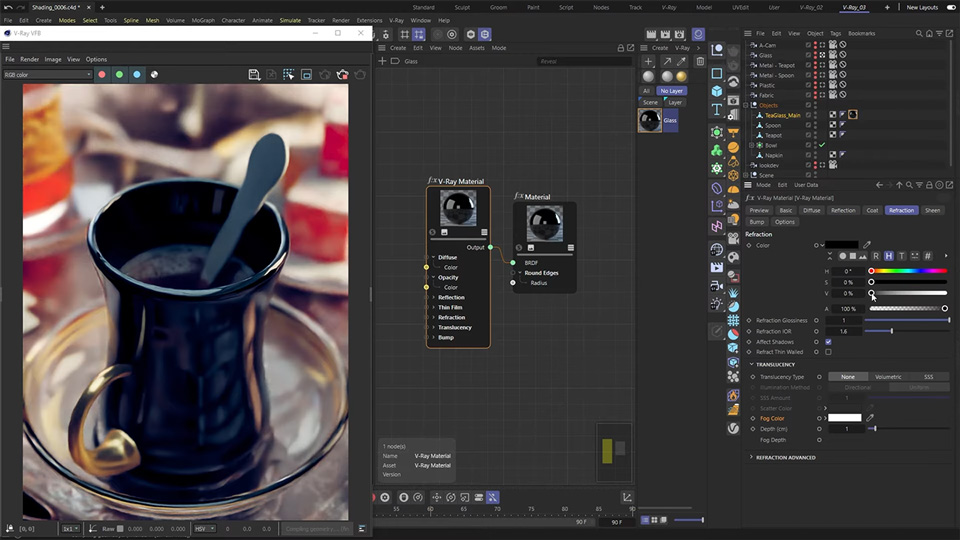
Moreover, you can shade your scenes and customize the available materials to your needs by using Chaos Cosmos, an ever-expanding library of render-ready 3D content. Besides, you will learn how to convert classic to node materials, and more.
5. Rendering Stills
Now, it is time to render. You will explore how to strike the right balance between quality and render time for rendering stills.
This video covers the most important render settings. You will learn how to use the power of render elements to get even more control in post. For example, the V-Ray Denoiser render element allows you to boost up the rendering speed. Moreover, you can reduce render times even further by using distributed rendering or making use of the efficiency of cloud rendering services (such as Chaos Cloud).
6. Rendering Animation
After stills, let’s render animation. This video will guide you on how to render a sequence of images using V-Ray for Cinema 4D.
You will learn the most important render settings for animations. Also, explore how to tweak the V-Ray image quality setting to find a balance between the quality you need and the time you have. In addition, you can speed up your workflow with the cloud rendering service (Chaos Cloud), review your image sequences with Chaos Player, and a lot more.
7. Post-processing
Yes, you can post-process your renders without a separate application.
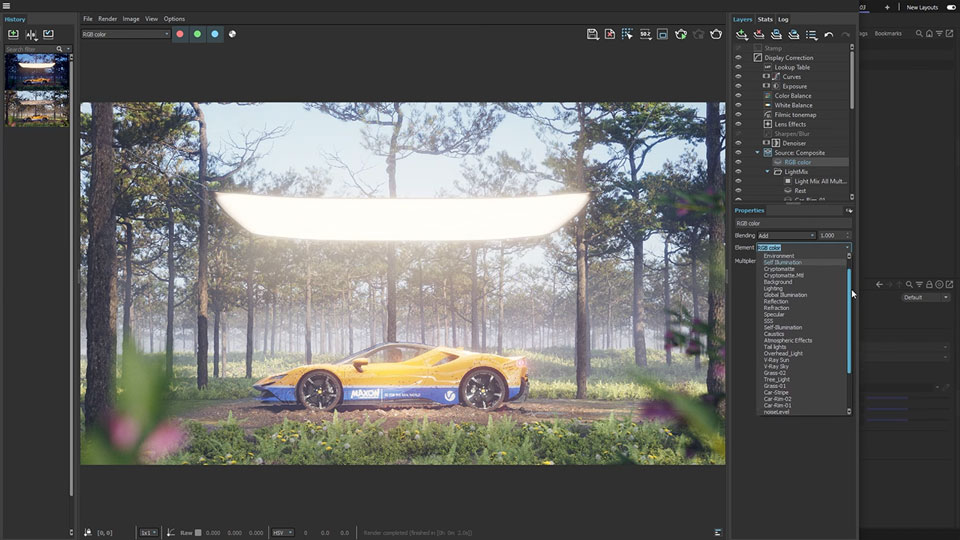
This video will introduce the power of V-Ray Frame Buffer tools to enhance your images. You will learn how to use Cryptomatte for masking objects and materials. Even after you have finished rendering with Light Mix, you can also play with your lighting and switch between different scenarios. Or you can fine-tune specific parts of your images in compositing. In addition, there are many more tips and tricks.
Conclusion
In conclusion, V-Ray for Cinema 4D is a powerful tool for both professionals and students. Hopefully, a series of tutorials above will help beginners to master the basics quickly and jump into the creative process.
V-Ray is supported widely across online render farms in the world, other than Chaos Cloud. Check the articles below to learn more.
See more: Our Best Cinema 4D Render Farm 2023
See more: Best Render Farm For Vray GPU


