

Grainy Interior Renders: Why More Render Time Isn’t Always the Answer
SUMMARY
EXECUTIVE ANSWER // WHY MORE RENDER TIME ISN’T ALWAYS THE ANSWER
Interior renders take significantly longer to clean up than exteriors because light must bounce off multiple indoor surfaces and travel through narrow openings like windows before reaching the camera. Brute-forcing render time yields diminishing returns: due to path tracing mathematics, halving visible noise requires roughly four times the samples. Persistent grain is usually caused by insufficient physical scene lighting, incorrect camera exposure, or unoptimized materials rather than a low sample count. Furthermore, faster hardware will simply produce the same grainy result faster if the underlying lighting math remains unoptimized.
💡
Use Adaptive Dome Lights or light portals to guide rays, raise real scene light levels to match physical camera exposure, and let the denoiser resolve final residual noise once real details have formed.
Why does my exterior render clean up fast but my interior never does?
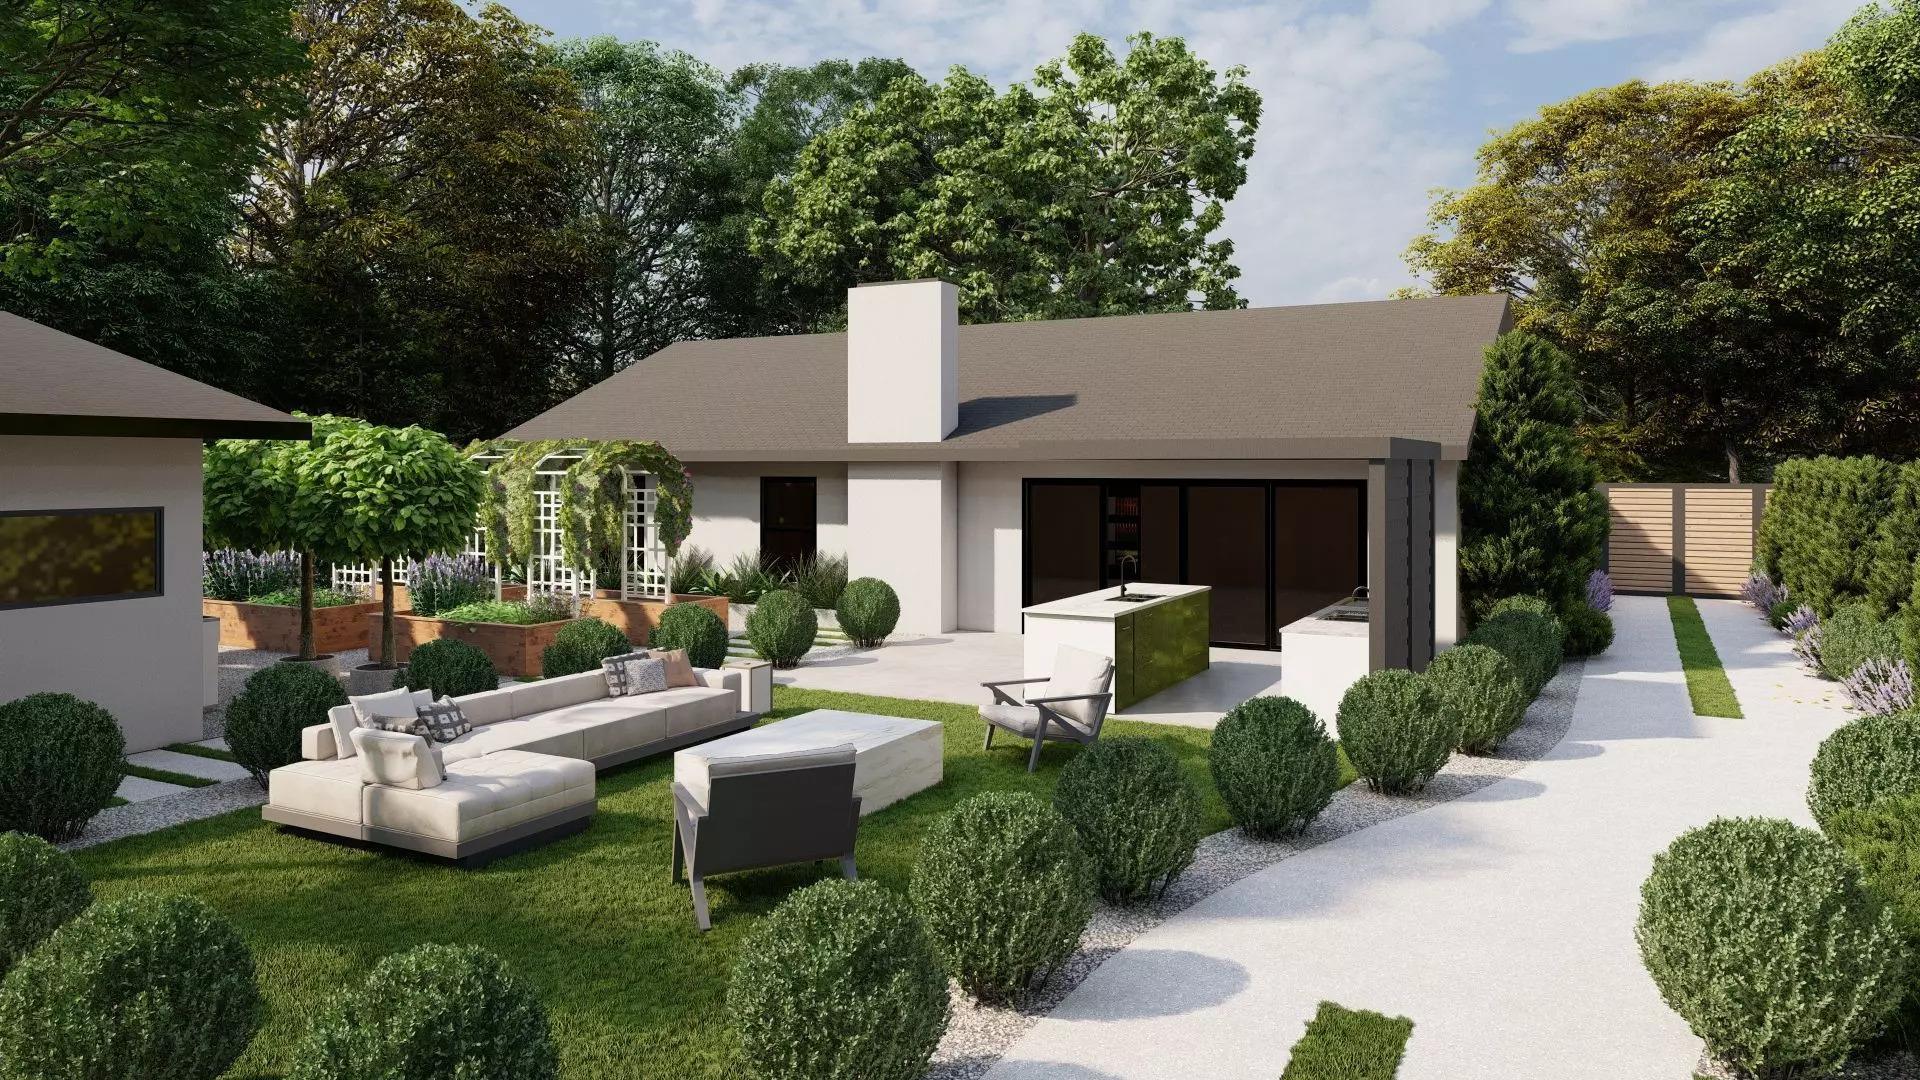
Image Source: CG Trader
An exterior scene gets lit by the whole sky at once. An interior gets lit mostly through a window, which is a narrow opening compared to the sky behind it, and most of the light that eventually reaches a wall or ceiling has bounced off something else first.
Picture how a path tracer actually works: it fires a ray out from the camera at every pixel and asks that point how much light it’s receiving, by sending out more rays to sample the scene around it. Outdoors, a huge share of those rays hit open sky immediately and come back with a useful answer. Indoors, most rays bounce off a wall, a ceiling, a piece of furniture, and only a fraction of them ever find their way back out through the window. The engine has to work much harder to get a stable answer for the same point.
That’s also why the noisiest spots in an interior render are always the same: ceilings, corners, the underside of furniture, and walls far from the window. Those are the points where light has to travel the longest, most indirect path to arrive at all. Artificial light sources behave the same way. A small downlight recessed into a ceiling pocket, or a cove light hidden behind a soffit, is its own narrow opening, and the engine struggles to find it just like it struggles to find the window.
Why does doubling render time barely help?
Because render noise in a Monte Carlo path tracer falls with the square root of the sample count, not with the sample count itself. Doubling your render time only cuts visible noise by roughly 30 percent. Halving the noise takes roughly four times the samples, which means roughly four times the render time.
Here’s what that looks like in practice. Treat the noise at your starting render time as a baseline of 100. Double the time and noise drops to roughly 71. Go to four times the original time and it drops to roughly 50. Eight times gets you to roughly 35, and sixteen times gets you to roughly 25. These are theoretical figures based on sample count alone, and your actual result will vary with how your engine’s adaptive sampling behaves on your specific scene.
How do I help the renderer find the light coming through the windows?
Both major engines have tools built for exactly this case, and using them is usually faster than brute-forcing more samples.
V-Ray’s Adaptive Dome Light is built to render environment and HDRI lighting faster, interiors especially, by sampling the dome itself more intelligently rather than relying on the scene to stumble onto bright directions. Chaos has described the feature as reducing the need for light portals in V-Ray, though the exact recommendation can shift between versions, so check what your current V-Ray release suggests before you commit to one approach.
Corona takes a different route, with a dedicated portal material you apply at the window opening itself. The idea behind any portal, in either engine, is the same: tell the renderer explicitly where the light is coming from, instead of leaving it to find that narrow opening through blind sampling.
If direct sunlight is part of the scene, it’s worth remembering that a shaft of direct sun converges faster than a room lit only by scattered sky light, since direct sun gives the engine an unmistakably bright, easy to find path. Picking a sun angle with some direct light reaching the interior isn’t just an art decision, it’s also a render-time decision.
Is my room simply too dark?
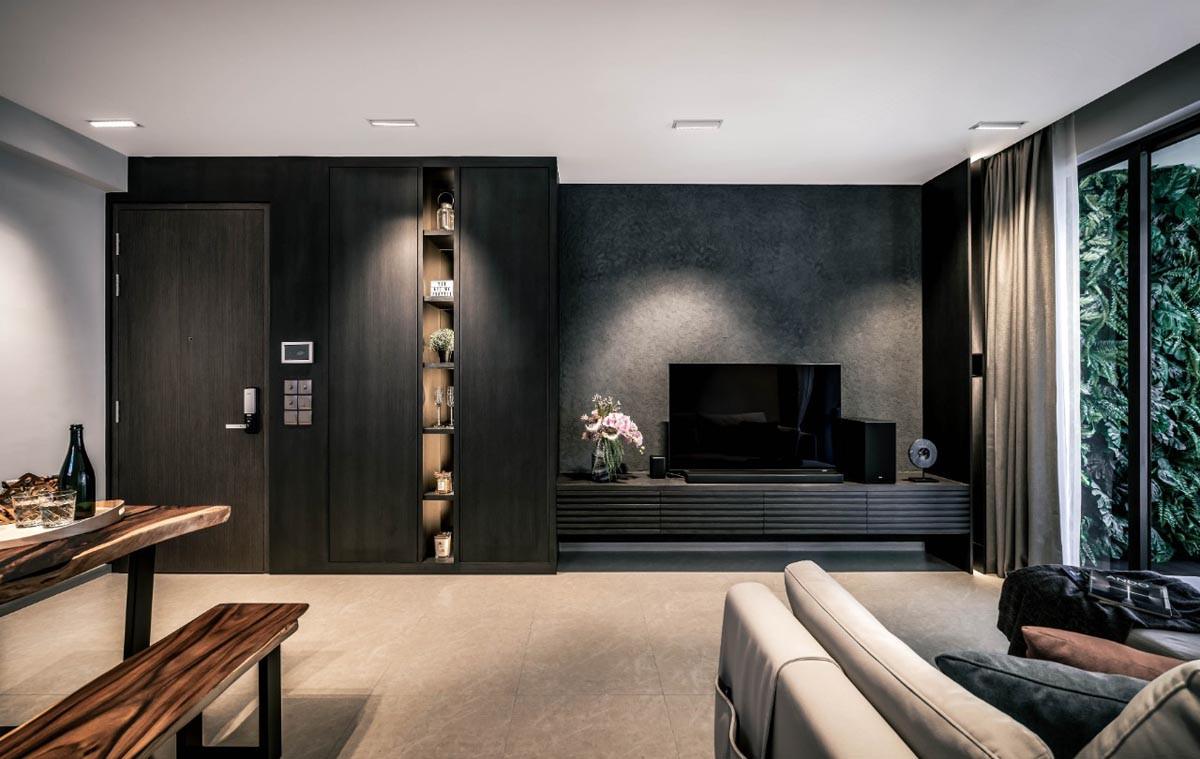
A dark render that gets brightened afterward in post will have its noise brightened right along with it, because grain in the shadows gets amplified exactly as much as the image does. Raising the actual light level in the scene, and setting your camera’s exposure to match it, gets you a cleaner image at the same render time, not just a brighter one.
It helps to separate two different things that get confused constantly: how bright an image looks, which is camera exposure (ISO, shutter, aperture on a physical camera model), and how much light is actually present in the scene. You can have a dark render for either reason, and only one of them is a lighting problem.
If an image looks fairly dark straight out of the renderer, and the noise gets noticeably worse the moment you push Levels or Exposure in post, that’s a sign the scene itself needed more real light rather than a brighter edit. Check how your sun, sky and interior fixtures compare with realistic light levels, and consider adding practical sources, a floor lamp, a cove light, wherever the design calls for one.
A bedroom interior once sat rendering for three hours and still came out grainy. It turned out the camera’s exposure had been left set for an exterior shot earlier in the same scene file, nearly a stop too dark, and every bit of that darkness got pulled back up later in Photoshop, noise included. Correcting the exposure in camera and adding a bit more light at the ceiling got a clean image in well under an hour on the same machine. That hour is an illustrative figure.
When should I let the denoiser finish the job?
Once the remaining noise is even and light, and the real detail in the image, material grain, fabric weave, sharp edges, has already formed. A denoiser is good at cleaning up that kind of leftover noise. It’s much worse at rescuing an image that’s still heavily noisy with detail that hasn’t resolved yet, since there’s nothing for it to preserve, and the result comes out looking waxy and flattened instead of clean.
The tell for denoising too early is visual: wood grain, fabric weave and fine material texture come out smeared or waxy, because the denoiser is averaging away detail that never had a chance to form. For animation specifically, there’s an added risk worth flagging separately, denoising that’s inconsistent frame to frame can introduce flicker.
When does faster hardware actually help?
Once the lighting, materials and denoising are already sorted out, and a single frame still takes longer than the number of images on your schedule can tolerate. Faster hardware cuts render time roughly in proportion to its speed gain. It does not change how noisy a given scene is at a given sample count, since that’s governed by the lighting and sampling math covered above, not by how fast the chip is.
Which hardware helps depends on your engine. V-Ray GPU and other GPU-capable engines benefit directly from a stronger card. Corona, by contrast, renders on CPU only, so no GPU upgrade changes a Corona render time at all.
If your own machine is the bottleneck rather than the scene itself, renting a cloud GPU workstation is one option worth knowing about, and iRender is one option. It rents dedicated machines by the hour, from a single RTX 5090 node up to eight card configurations, which suits V-Ray GPU and other GPU-capable engines that can spread work across multiple cards.
If the grain is coming from poor light penetration into the room, a faster machine just gets you to the same grainy result sooner. Renting only pays off once the lighting itself has already been fixed.
| Cause of Noise | Sign to Look For | Does More Time Help? | Faster Fix |
|---|---|---|---|
| Light entering through a narrow opening | Heavy noise at the ceiling, corners far from the window | Slowly; roughly 4x the time for each halving | Adaptive Dome Light, portals per your engine’s current guidance |
| Dark scene, brightened in post | Noise appears or worsens after an exposure push | Barely | Raise real scene light, correct camera exposure |
| Glossy, overly white materials | Noise concentrated on specific surfaces | Barely | Adjust glossiness and realistic albedo values |
| Many small lights | Noise clustered around ceiling fixtures | Yes, but slowly | Adaptive Lights, combine similar fixtures |
| Fireflies | Isolated bright dots | Very slowly | Cap sample intensity, check glass and metal |
| Even, light residual noise | Faint speckle across the whole image | Yes | Denoiser |
FAQ
1. Why are my interior renders so grainy?
Most of the light reaching an interior comes through the window, after several bounces, which is one of the hardest cases for a path tracer. The engine fires random samples to estimate how much light reaches each point, and inside a room most of those samples never find the source directly. That’s why ceilings, corners and the space under furniture turn out noisiest. The fix with the biggest effect is helping the engine find the light faster, raising the real light level in the room, and checking your materials, before reaching for more render time.
2. How much longer do I need to render to halve the noise?
Roughly four times longer. Render noise in path tracing falls with the square root of the sample count, so doubling the render time only cuts visible noise by about 30 percent. Modern engines sample adaptively, pushing more samples into noisy regions, but a hard case like an interior ceiling still costs the most to clean up. Once an image looks close to clean, fixing the lighting or running a denoiser usually does more than waiting for another pass.
3. Do light portals still help in V-Ray and Corona?
Portals tell the engine where light enters a room, but current guidance varies by version. Chaos introduced Adaptive Dome Light for V-Ray specifically to speed up environment lighting, interiors especially, and has described it as reducing the need for portals. Corona has its own dedicated portal material.
4. Why do I get bright white dots in my interior render?
Those are fireflies, a different problem from ordinary grain. They usually come from glass, shiny metal, or a small but very bright light source creating a rare light path. They fade very slowly even with more render time. Both engines offer a way to cap how intense a single sample can get, but setting that limit too aggressively will flatten real highlights.
5. Will a faster GPU fix grainy interiors?
A faster machine finishes the same scene sooner, but it doesn’t make a poorly lit scene any cleaner at the same sample count. Fix the lighting, materials and denoising first. After that, if a single frame still takes too long for the number of images you need, faster hardware cuts the time proportionally. One thing to flag: Corona renders on CPU only, so a stronger GPU does nothing for a Corona scene.
See more: Why Your Arch-Viz Animation Flickers (Denoiser and Sampling Explained)