3 Tips for rendering with Cinema 4D and Redshift faster
Redshift and Cinema 4D is a 3D software duo – The perfect rendering software for any artist. This duo will help you complete the 3D modeling process faster and render it as realistic as possible with its features.
Cinema 4D is a 3D software suite for modeling, situation, animation, and rendering software solutions. It is a powerful, faster, and professional software for working with websites, animation, VFX, VR, and developing games.
Both this software are developed by Maxon company. There are Redshift features that will integrate Cinema 4D faster and more powerfully. Redshift is a GPU-accelerated 3D rendering software and a biased GPU renderer. You can discover Cinema 4D and Redshift tips to speed up your workflow.
Tips 1: Faster renders with Redshift Light
Light and Colour are both essential components to a winning image, in this article, we will guide you through fundamental principles for successfully lighting with Cinema 4D and Redshift. Lighting can create a quality product, but it can run a scene if you need to learn how to generate light. Choosing the correct light can be fundamental.
Redshift Lighting essentials is a collection of lighting studios that will help you jump-start the lighting process. Every studio has a full expresso rig and it makes everything easy to use. You can easily change things like the color, the position of the lights, the power, and the temperature of all the lights. The HDR is everything that is played around with a few sliders.
Jumpstart your lighting with 20 utterly customizable lighting studios. Each one has a full expresso rig so you can easily modify the lights and colors. The download is a .lib4d so you can easily access these lighting setups through your content browser.
Tips 2: Redshift renders faster by bringing clone colors in Redshift
Let’s talk about Color in Cinema 4D and Redshift, your scene is using Fields in Cinema 4D but colors don’t appear in Redshift. How to quickly add a specific color palette to a lot of objects in your scene?
We recommend you should use the Color User Data Node. This is a function in Attributes Shaders of Cinema 4D and Redshift. On a point cloud, attribute color data (RGBA or RGB) may be recorded per object or point. You have access to that attribute data through this shader node, making it possible to change the shading of an object or a point without changing the materials.
You need to prepare a cloner with a planned effect applied to it along with the linear field created and that is what’s going to give us our color. We have some cubes we’ll come back to a bit later on but we have a problem, our Mograph color in Cinema 4D version S26 doesn’t show the color we want. Second, when we add a material that color goes array away. Now, we need to use the User Data Node to solve the issue the color doesn’t appear.
You can work with reflection properties transmission bump whatever to get this color though we use the color user data node. You need to assign an attribute name and come here to the presets and choose the Mograph color. If it wasn’t a diffuse color it could also be an emission. Let’s cubes emitting some light, Instead of just a single color we could switch this to radiant which will allow us to use any value we want. You can add whatever color you want.
Details on how to use the Color User Data node, you can see in detail in the video below.
Tips 3: Using Light Group in Redshift – Super Useful for Cinema 4D
Light Group allows you to output per-light AOVs for most of Redshift’s Integrated beauty AOVs. Without having to re-render, you may change the color temperatures and adjust the exposure of individual lights by using separate passes for each one. To enhance flexibility and organization, light groups can include one or more lights. This enables you to combine lights.
We will show you the technique and then you can use your Imagination for how this might work for you.
First, Creating Light Groups
Before being able to output Light Group AOVs you must first set up your Light Groups themselves. Light groups can contain a single light or multiple lights and can be named whatever you like.
To create a Light Group just go to the Attributes tab for any Redshift Light and add a name under the Light Group > AOV Light Group section as pictured below.
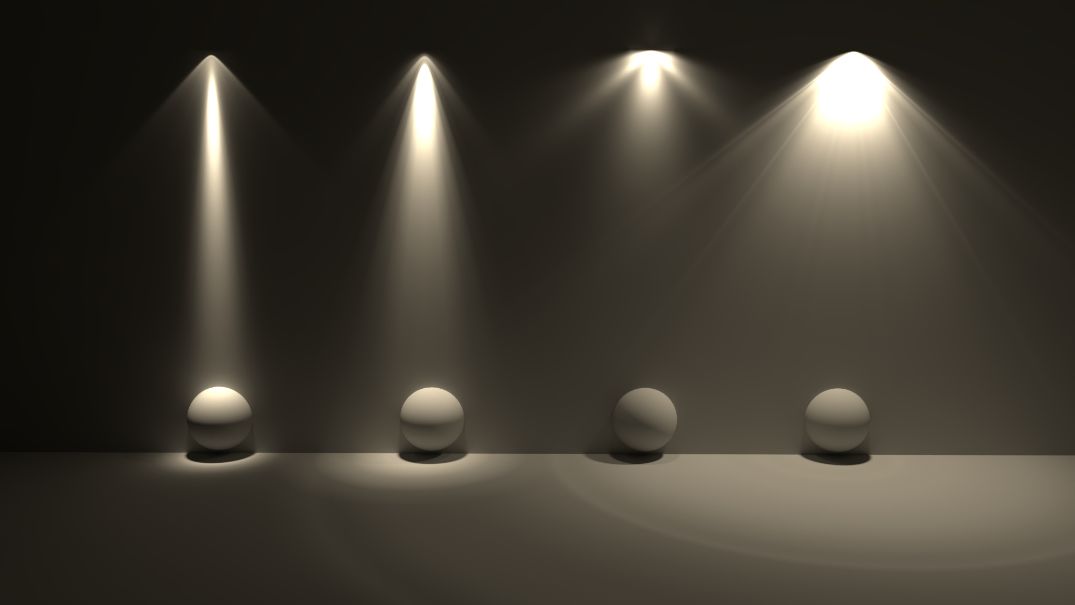
Finally, you open the Render settings box, in the settings box, you will see all the AOVs tabs in the Redshift settings. You have to click on the AOV manager to make it visible and add a beauty pass. In that beauty pass, we have this Light Groups section and we’ve added these to our lights we now have four different light groups including 4 total lights set up in the following Light Groups:
- Light Group: key_light
A single key area light with volume contribution.
- Light Group: disc_spot_lights
A disc-shaped area light with volume contribution.
A caustic casting spotlight with no volume contribution.
- Light Group: dome_light
- One Redshift dome light with volume contribution.
And now, let’s render.
Conclusion
3 Tips for rendering with Cinema 4D and Redshift faster are above we introduce them to you including Redshift Light, Color User Data and Light Group will help you speed up rendering.
See More: Best Cinema 4D Redshift Render Farm