Blender How to Render – A Beginner’s Guide to Eevee, Cycles & Third-Party Renderers
Among thousands of software out there, Blender stands out as a free and open-source option trusted by artists and developers worldwide. From modeling and sculpting to animation and compositing, it handles every step of the 3D workflow. The best part? Its incredible rendering capabilities cannot be ignored. Users can freely choose rendering options, including built-in and external renderers such as Octane and Redshift. In the blog today, Radarrender will explore Blender how to render with Eevee, Cycles & third-party renderers.
If you are new to Blender, this article is for you. Let’s get started!
Blender How to Render with Native Renderers
Now, prepare a model file that you want to render. Blender rendering has additional options to make your final image as realistic as possible, such as custom lighting, shadows, textures, and geometry. Let’s start with two of Blender’s built-in render engines.
First, let’s get acquainted with the Blender interface. When you open Blender, here’s what you’ll see:
- Toolbar: Located on the left, including tools to transform objects, add other components and functions, and customize by mode such as Object Mode, Edit Mode.
- 3D Viewpoint: The central area where users design and edit their 3D models and scenes.
- Outliner: Located on the top right, helping users manage and organize models and images in the project with a hierarchical view.
- Properties Panel: Located on the bottom right, including detailed settings and options for selected objects such as modifiers, materials, and scene properties.
- Timeline: At the bottom, this section helps users control keyframes and animation sequences.
- Header: At the top, it contains menus for file operations, rendering, and switching between different workspaces.
What are Eevee and Cycles?
Eevee is Blender’s real-time renderer that focuses on speed and interactivity while still achieving the goal of rendering PBR materials. It uses only a GPU to render. Unlike ray-traced renderers, Eevee uses rasterization, which means that instead of calculating each ray of light, rasterization determines which surfaces are visible to the camera. It then estimates how light will interact with those surfaces and materials using a variety of algorithms. This results in faster render times but also reduces realism. Eevee is perfect for quick previews, animations, and game assets.
Cycles is Blender’s powerful ray tracing engine that creates realistic lighting, shadows, and reflections. It supports both CPU and multi-GPU rendering for better performance. Cycles is a great choice for rendering complex scenes with lots of light and detail. Of course, the downside is that it takes more power and time. Invest in more powerful hardware to reduce render times. It’s great for architectural visualization, product design, and CGI for action movies.
How to Render with Eevee and Cycles
Here are 6 simple steps to get you started with basic rendering with Eevee or Cycles in Blender.
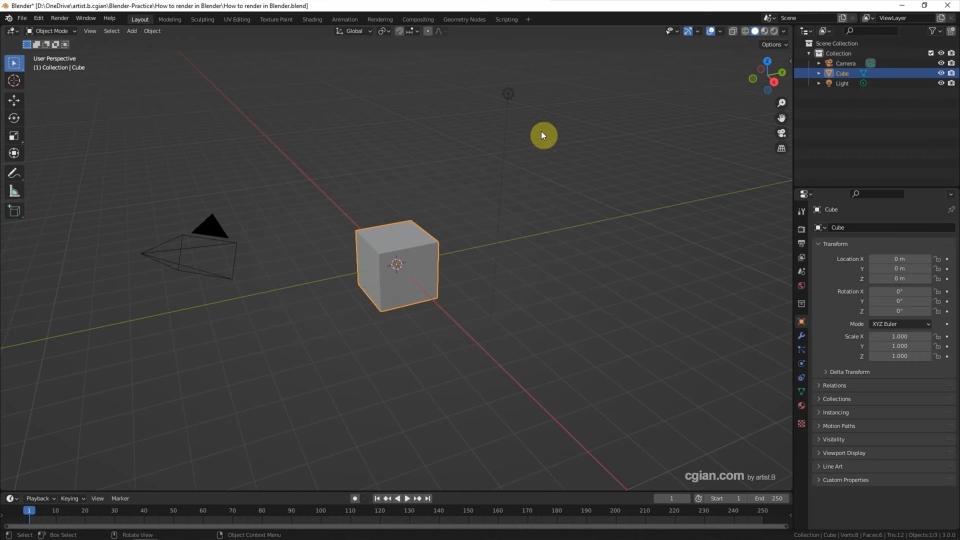
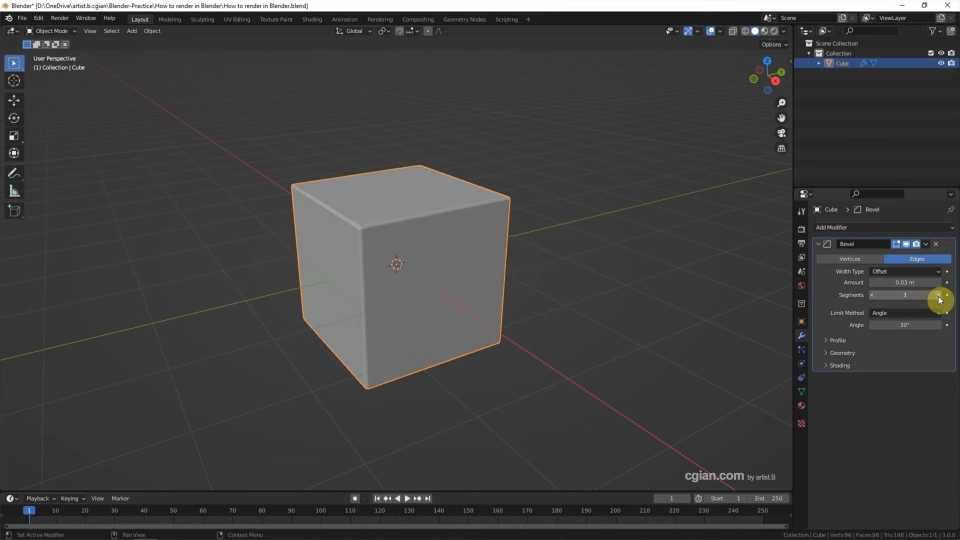
1. Setting Up the Object
- Open Blender and delete the default cube.
- Click Add (Shift + A) and choose an object from the available options (Mesh, Curve, Surface, Metaball, etc.).
- To modify the object’s shape, switch to Edit Mode (Tab) and edit the mesh directly.
- Another way to adjust the object is by applying Modifiers:
- Go to the Modifier Properties tab.
- Select a modifier (e.g., Subdivision Surface, Boolean).
- Customize its settings to achieve the desired shape.
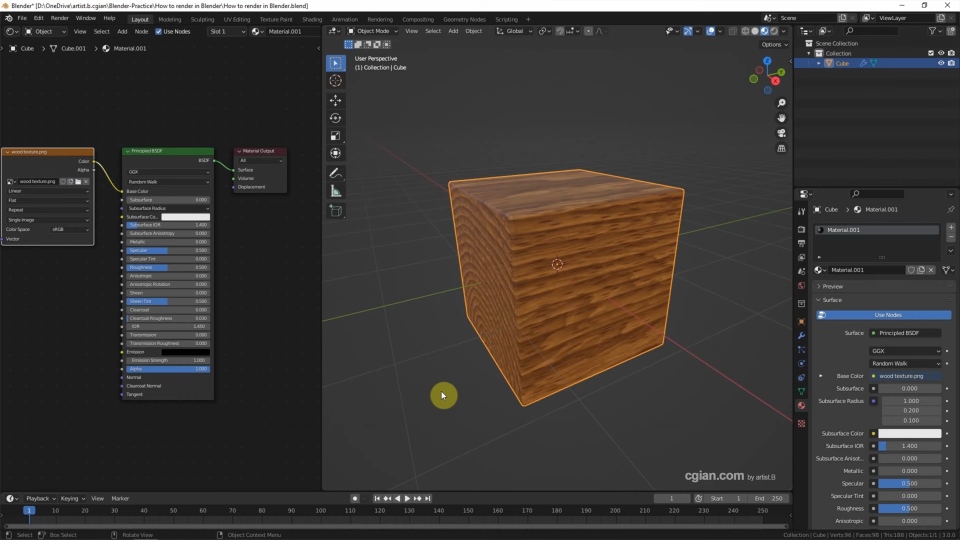
2. Applying Materials and Textures
- Select the object and go to Material Properties (sphere icon).
- Click New to add a new material.
- For better control, split the viewport and switch one panel to Shader Editor.
- If needed, minimize the left panel to have more workspace.
- To adjust the material, switch to Material Preview Mode and customize Base color, Roughness, and Metallic as you wish.
There is an alternative way to add texture is instead of a solid color, you can apply an image texture:
- In the Shader Editor, click Add → Search ‘Image Texture’.
- Connect Color Output to Base Color.
- Click Open, select an image (here we have a wood texture), and apply it to the object.
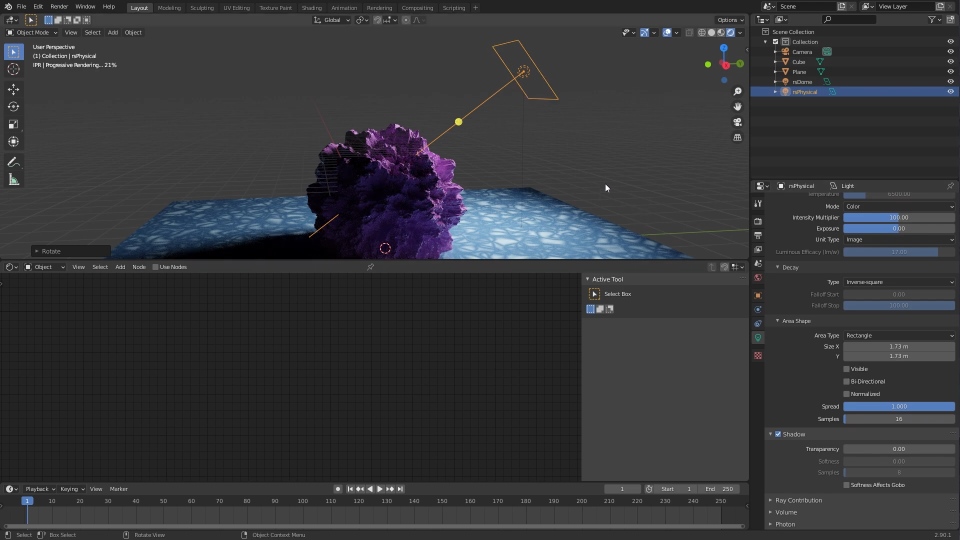
3. Setting Up Lighting
Go to the Light Properties tab and add lights.
-
- Point Light (emits light in all directions)
- Sun Light (for outdoor scenes)
- Spot Light (directed light with a cone shape)
- Area Light (soft and diffused light)
- Adjust intensity, color, and positioning to create realistic lighting.
- Consider using HDRI images for natural ambient lighting (via the World Settings).
4. Positioning the Camera
- Switch to Camera View: Numpad 0.
- Select the Camera in the Outliner, then go to Object Properties (square icon with four corners).
- Adjust the camera position using G to move and R to rotate.
- To lock the current viewport as the camera view:
- Press N to open the right-side panel.
- Go to View tab.
- Enable Lock Camera to View.
- Move the view with the middle mouse button until you get the desired angle.
- Use Depth of Field (DOF) for a more cinematic look.
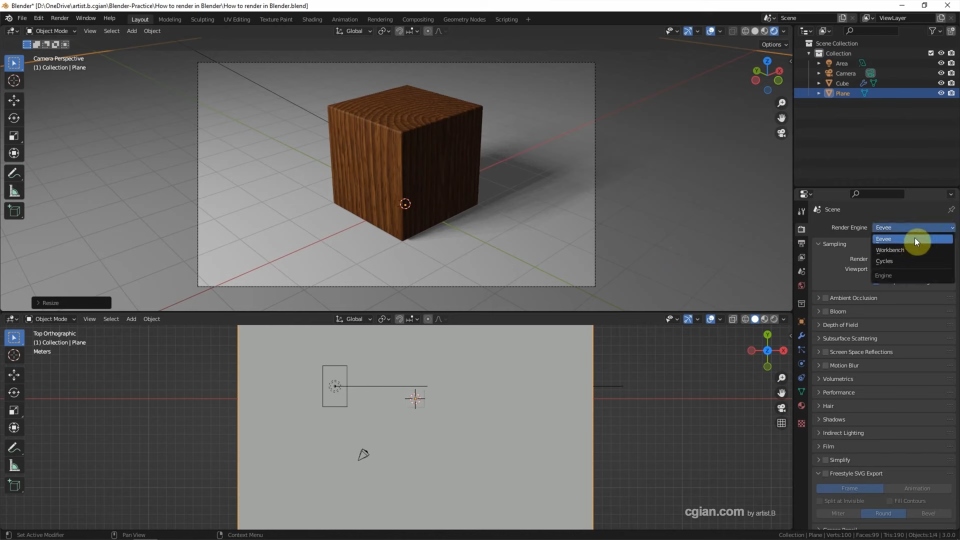
5. Configuring Render Settings
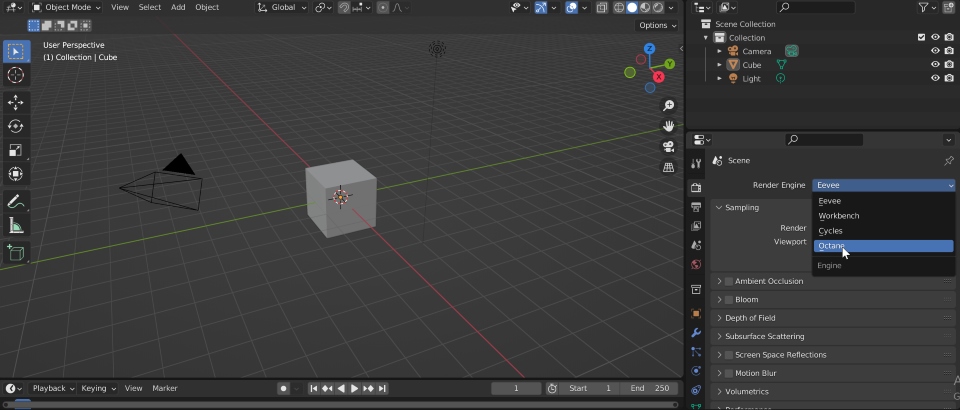
- Open the Render Properties tab and choose a rendering engine:
- Eevee (fast, real-time rendering, suitable for previews and stylized renders).
- Cycles (realistic, ray-traced rendering but slower).
- If using Cycles, set Device to GPU Compute for faster rendering:
-
- Open Edit → Preferences → System.
- Under Cycles Render Devices, select CUDA (NVIDIA) or OptiX (AMD).
- Adjust sample count for quality vs. speed optimization.
- Enable denoising to reduce noise in the final render.
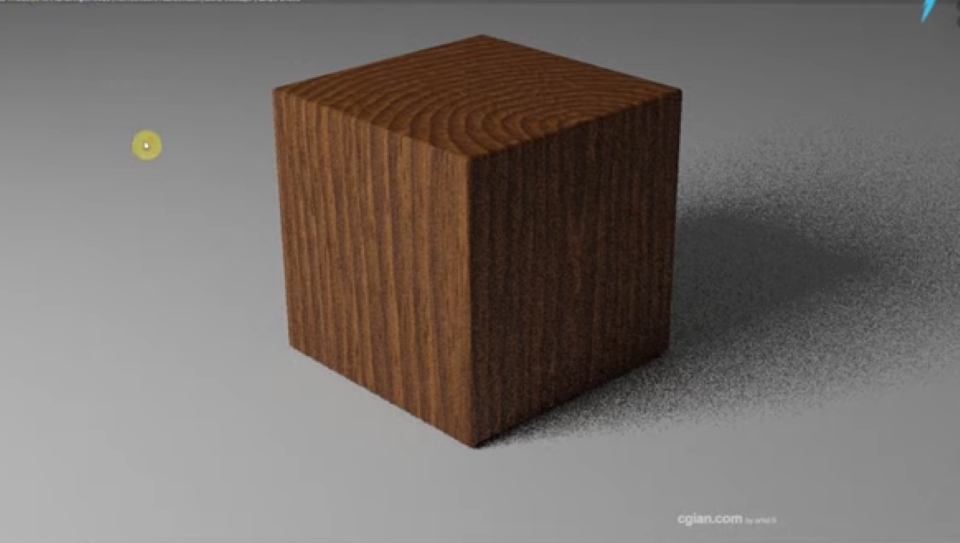
6. Rendering the Final Image
- Set the output resolution (default is 1920×1080) and file format (PNG, JPEG, OpenEXR, TIFF…) in the Output Properties tab.
- Choose the render mode:
- Render Image (F12) for a single frame.
- Render Animation (Ctrl+F12) for a sequence of frames.
- Blender will render all frames and save them in the output folder.
Blender How to Render with Third-Party Renderers
If you’re looking for higher quality results or specific rendering features that Blender’s native engines (Eevee and Cycles) can’t provide, third-party renderers are a great option. Today, we talk about Octane and Redshift, which offer more advanced lighting, shading, and realism, especially for professional projects.
Here’s how to get started with third-party renderers in Blender:
Octane Render
Octane is a GPU-based renderer known for its real-time preview and physically accurate spectral rendering. It is popular in product design and architectural visualization for its stunning and realistic rendering capabilities.
How to render Octane in Blender:
- Download and install Octane plugin from the OTOY website that matches your License Type.
- After opening the Blender Octane Edition application, you will see a standard Default Scene. Go to Edit > Preferences > Add-ons, find OctaneRender Engine in the Add-ons tab. If it is not already checked, check the box for the OctaneRender option and install the plugin ZIP file.
- Once enabled, select Octane from the Render Engine drop-down list in Render Properties.
- Switch to the Octane Node Editor to build your materials using the Octane shader.
- Add Octane-specific lights for more accurate results.
- Tweak render settings like kernel type, GI clamp, and sampling.
- Press F12 or go to Render > Render Image.
Redshift
Redshift is a biased GPU renderer built for speed and efficiency. It is often used in motion graphics, commercials, and feature films. According to Dylan Neil, a famous 3D artist, Redshift is five times faster than Cycles. That’s great!
How to render Redshift in Blender:
- Download the Redshift plugin from Maxon’s website.
- Install via Edit > Preferences > Add-ons, just like with Octane.
- Select Redshift in the Render Properties panel.
- Use the Redshift Shader Editor to create your materials.
- Add Redshift-compatible lights (like Area or Dome Lights).
- Adjust render settings like Unified Sampling, Ray Depth, and Denoising.
- Render your scene with F12.
Conclusion
That’s it, we’ve covered the basics of Blender how to render with built-in and third-party render engines. Of course, each engine has its own advantages, that are why it has survived until now. Specifically, Eevee is the best choice for fast previews, which you should use when speed is more important than realism (Many 3D artists have complained about its not-so-realistic effects). On the other hand, Cycles is ideal for realistic renderings. It is slower but provides better lighting and details. Besides, Octane provides beautiful results and real-time previews but requires a lot of GPU power. And Redshift is faster and more stable for complex scenes or animations with a good balance of speed and quality.
So, have you tried any of these render engines? Share your experience in the comments below!